
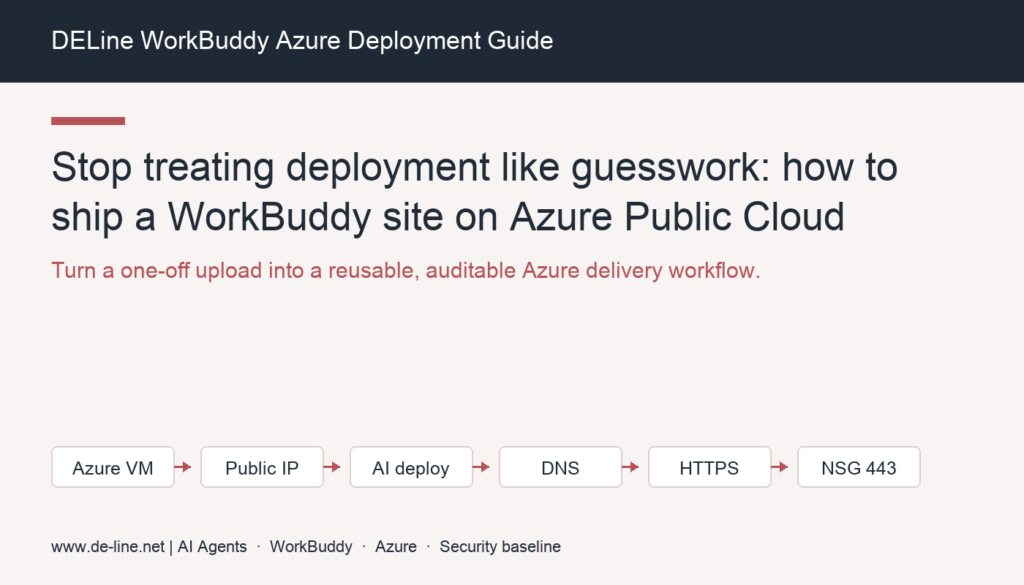
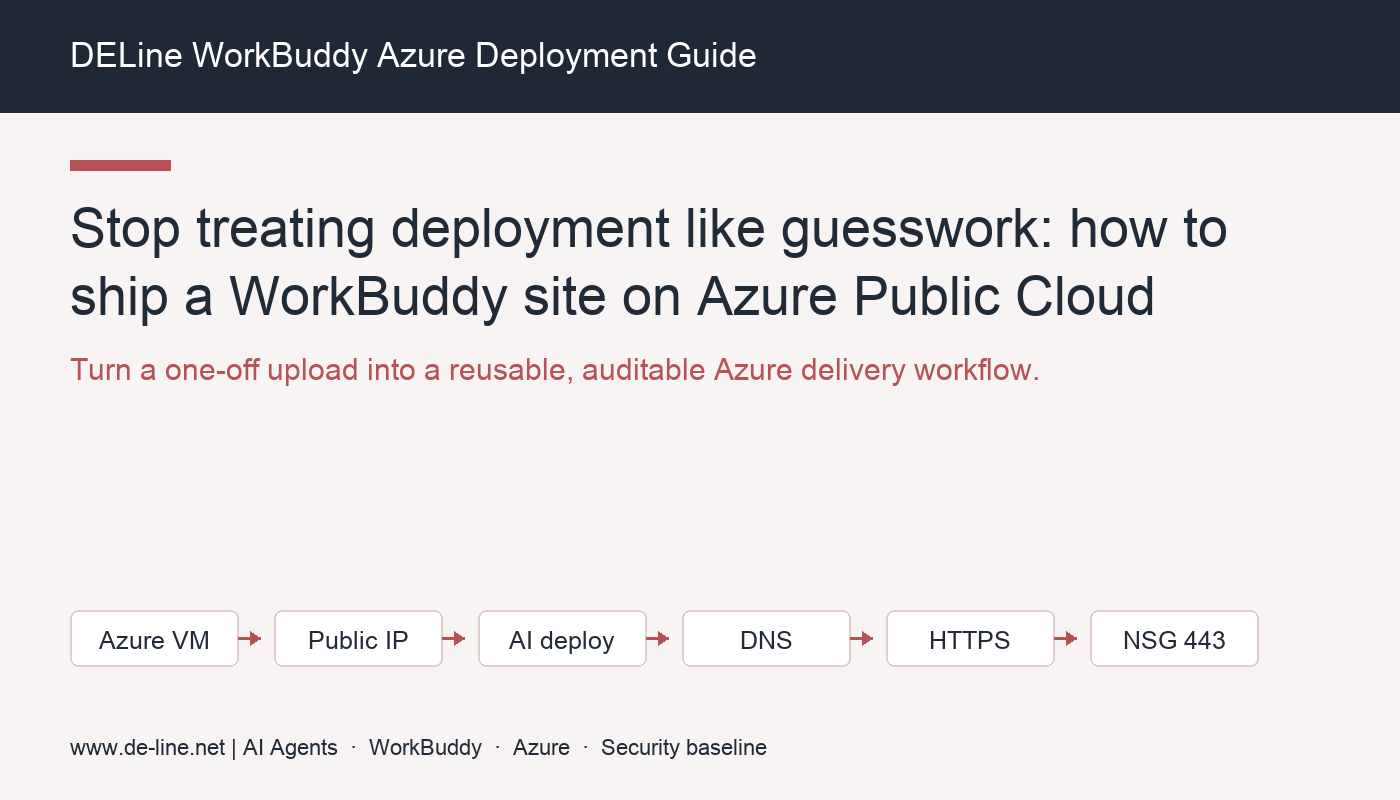
Stop Treating Deployment Like Guesswork: How to Ship a WorkBuddy Site on Azure Public Cloud
The safest entry-level path for deploying a WorkBuddy-generated website to Azure is not “upload the files and hope”. Create an Azure Linux VM, bind a static Public IP, pass controlled server details to WorkBuddy, then validate DNS, HTTPS, and NSG inbound rules before calling it production-ready.
The Problem: Why “deployed” does not mean publicly reachable on Azure
Enterprise teams often get stuck after the application starts on the server. The service is running, but the domain does not open. HTTP works, but HTTPS fails. The certificate is configured, but the browser still times out. In most cases, the root cause is not the frontend code. The Azure delivery chain is incomplete: VM, Public IP, Network Security Group, DNS, certificate, and application port all need to line up.
The Direct Answer: Use this 7-step Azure deployment workflow
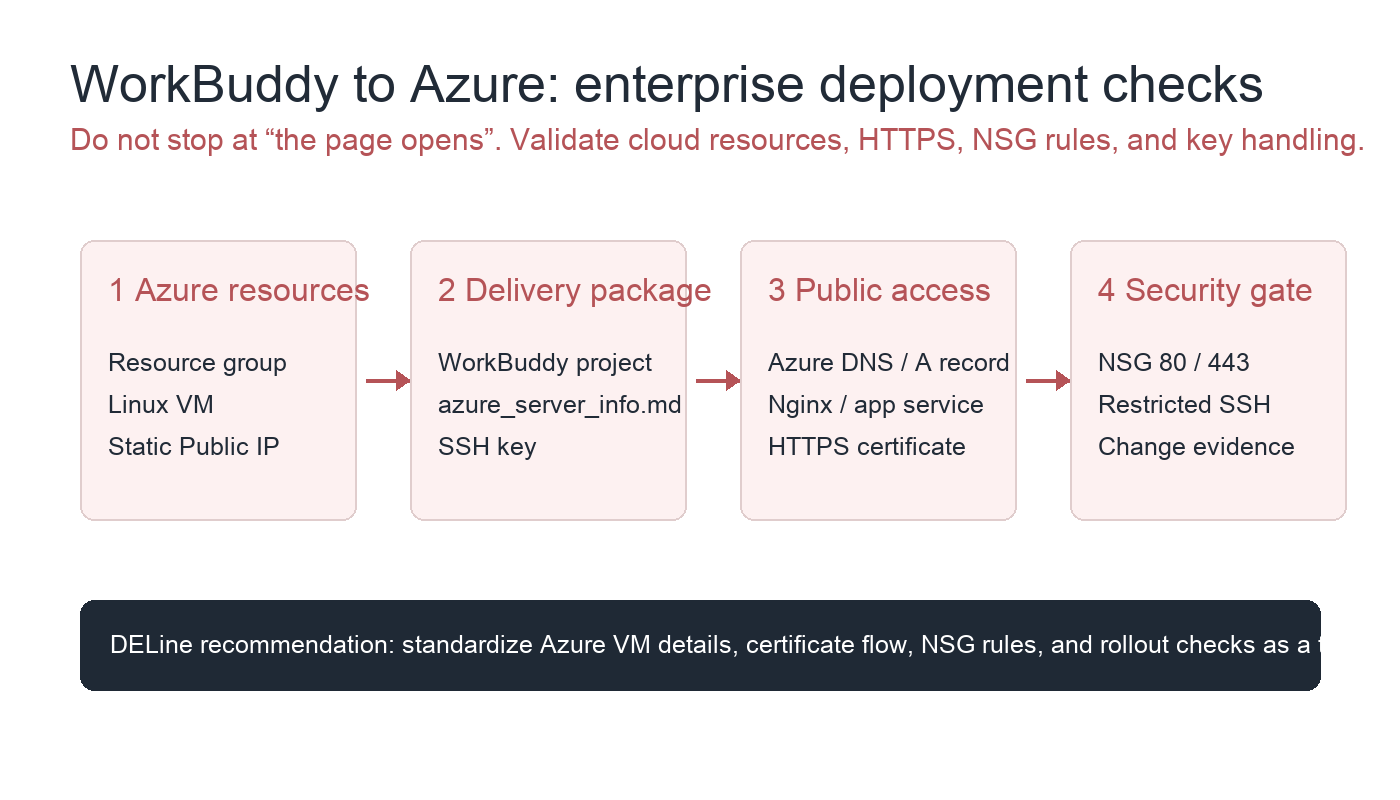
- Create a dedicated Resource Group, Virtual Network, and Linux VM in Azure.
- Bind a static Public IP to the VM and record the IP address, username, OS image, and SSH key file name.
- Open only the required inbound ports in the VM’s Network Security Group: usually 80 and 443; restrict SSH 22.
- Create
azure_server_info.mdlocally and give WorkBuddy a structured deployment target. - Let WorkBuddy build and deploy the frontend project to the Azure VM.
- Point your domain to the Azure Public IP through Azure DNS or your existing DNS provider.
- Configure HTTPS and validate the result across DNS, Azure networking, server ports, and browser behavior.
Who this is for
This guide is for enterprise IT, operations, security, pre-sales delivery, knowledge management, and AI Agents teams that need to publish AI-generated websites, demo portals, internal apps, or lightweight frontend services on Azure Public Cloud. The goal is not a one-time lucky deployment. The goal is a reusable, auditable, handoff-ready workflow.
Step-by-step: WorkBuddy plus Azure Linux VM
Step 1: Start with a manageable Azure resource boundary
Create a dedicated Resource Group, for example rg-workbuddy-prod. Keep the VM, Public IP, NSG, disk, DNS resources, and monitoring assets under the same boundary so ownership, cost tracking, and cleanup are easier.
When creating the Linux VM, choose an Ubuntu LTS image and use SSH key authentication. Avoid password-based login for production. Use a static Public IP so your domain does not break when infrastructure changes.
Step 2: Write down the Azure VM details in azure_server_info.md
WorkBuddy needs precise deployment context. Instead of describing the server in a chat message, put the target details into a controlled file:
CLOUD=Azure
RESOURCE_GROUP=rg-workbuddy-prod
VM_NAME=vm-workbuddy-web-01
PUBLIC_IP=20.2.10.8
USER_NAME=azureuser
OS=Ubuntu_24.04_LTS
SSH_KEY=azure-workbuddy-prod.pem
APP_PORT=3000
PUBLIC_PORTS=80,443
Replace PUBLIC_IP with the real Azure Public IP. The SSH key file should stay out of Git, shared documents, and chat history.
Step 3: Put the server info and SSH key in a controlled deployment folder
Create a folder such as deploy_azure_vm inside the WorkBuddy project. Put azure_server_info.md and the private key file there, then restrict local permissions:
chmod 600 deploy_azure_vm/azure-workbuddy-prod.pem
For enterprise teams, this is also the right moment to document who owns the VM, who can access SSH, and when keys should rotate.
Step 4: Ask WorkBuddy to deploy using the Azure target file
A good deployment prompt should be specific about SSH, runtime setup, process management, reverse proxy, and verification:
Please read deploy_azure_vm/azure_server_info.md and deploy the current frontend project to this Azure Linux VM.
Requirements:
1. Connect through the SSH private key.
2. Install the required runtime.
3. Manage the service with systemd or pm2.
4. Configure Nginx as a reverse proxy.
5. Expose the site through ports 80 and 443.
Do not accept a vague “deployment completed” message. Ask WorkBuddy to return the service port, Nginx path, process manager, restart command, and rollback steps.
Step 5: Open the right Azure NSG inbound rules
Public access on Azure is controlled by Network Security Groups. For a normal website, allow TCP 80 and 443 from the internet. Do not expose SSH 22 to the whole internet; restrict it to office IPs, VPN, or Azure Bastion.
Inbound rules:
- Allow HTTPS: TCP 443 from Internet to VM
- Allow HTTP: TCP 80 from Internet to VM
- Allow SSH: TCP 22 only from office IP, VPN, or Bastion
If the browser times out, first check whether the NSG is attached to the right subnet or network interface. Then check the VM firewall and whether Nginx is listening on 80 and 443.
Step 6: Bind the domain through Azure DNS or your existing DNS provider
You do not have to use Azure DNS, but it can simplify governance if the rest of your infrastructure is already in Azure. The key requirement is that the A record points to the VM’s static Public IP.
Record type: A
Name: www
Value: 20.2.10.8
TTL: 300
After the DNS record is in place, verify resolution with dig or an external DNS checker before configuring HTTPS.
Step 7: Configure HTTPS and validate all four layers
You can use Let’s Encrypt or an existing enterprise certificate. After configuration, validate four layers instead of checking only the homepage:
- DNS: the domain resolves to the Azure Public IP.
- Azure networking: the NSG allows 80/443 and the Public IP is still attached to the target VM.
- Server runtime: Nginx, Caddy, or the app service is listening on the expected ports.
- Browser behavior: certificate chain, redirects, static assets, and API calls all work.
Enterprise security notes
- Minimize SSH exposure: restrict port 22 or use Azure Bastion/VPN.
- Use static Public IPs for production domains.
- Never commit private keys to Git or knowledge bases.
- Record deployment time, owner, VM size, NSG changes, and rollback steps.
- Use Resource Group tags, budget alerts, and monitoring for cost governance.
Common mistakes
- The app is deployed, but NSG inbound rules still block public access.
- The Public IP is not static, causing DNS to point to the wrong address later.
- SSH 22 is open to the world, increasing brute-force risk.
- DNS points to an old IP, so HTTPS validation and browser access fail.
- Nginx listens on 80, while Azure only allows 443, or the reverse.
- The SSH key permissions are too loose, so OpenSSH refuses to use the key.
Three-minute pre-launch checklist
- Resource Group, VM, Public IP, and NSG names are clear and tagged.
- The Azure VM uses SSH key authentication.
azure_server_info.mdcontains the correct IP, username, OS, and key file name.- NSG allows 80/443 and restricts SSH 22.
- The domain record points to the correct Azure Public IP.
- HTTPS is valid and the browser shows no security warning.
- WorkBuddy returned deployment path, process manager, Nginx config, and rollback commands.
FAQ
Why not use Azure App Service instead of an Azure VM?
Azure App Service is excellent for standardized web hosting. This guide focuses on Azure VM because the WorkBuddy workflow in this scenario uses server details, SSH, deployment instructions, and direct server configuration. It also makes networking, DNS, HTTPS, and key governance easier to explain.
Is Azure DNS required?
No. You can keep DNS with Cloudflare, GoDaddy, Alibaba Cloud, or another provider. The key is that the A record points to the Azure Public IP. Azure DNS is useful when you want unified Azure permissions and audit trails.
Can I expose only 443 and skip 80?
Yes, but many automated certificate flows use HTTP-01 validation on port 80. If you use DNS-01 validation or an existing certificate, exposing only 443 may be acceptable.
What should I check first if deployment succeeds but the domain does not open?
Check these in order: DNS resolution, Azure NSG rules, server-side Nginx or app listener, then certificate and redirect configuration.
How DELine can help
DELine helps teams turn AI-assisted website deployment on Azure into a repeatable operating workflow: Azure resource planning, NSG and access security baselines, WorkBuddy and AI Agents deployment templates, DNS and HTTPS delivery checks, key governance, and internal knowledge base handoff. The real goal is not one successful launch. It is making every launch reusable, auditable, and safe to hand over.